4 Reasons Why Your Asphalt Surface Needs a Good Foundation

As the saying goes: you can’t build a great building on a weak foundation. The same holds true for asphalt surfaces.

Asphalt surfaces also need strong, durable foundations so they don’t crack and break apart under pressure. Building an asphalt parking lot or driveway is a big investment, and it won’t last nearly as long without a solid foundation underneath it. A poor foundation means you could be paying for expensive repairs – or even complete replacement – prematurely.

A good asphalt foundation typically consists of the best materials and compact gravel available and should be strong enough that the gravel doesn’t break apart when you put your foot on it.

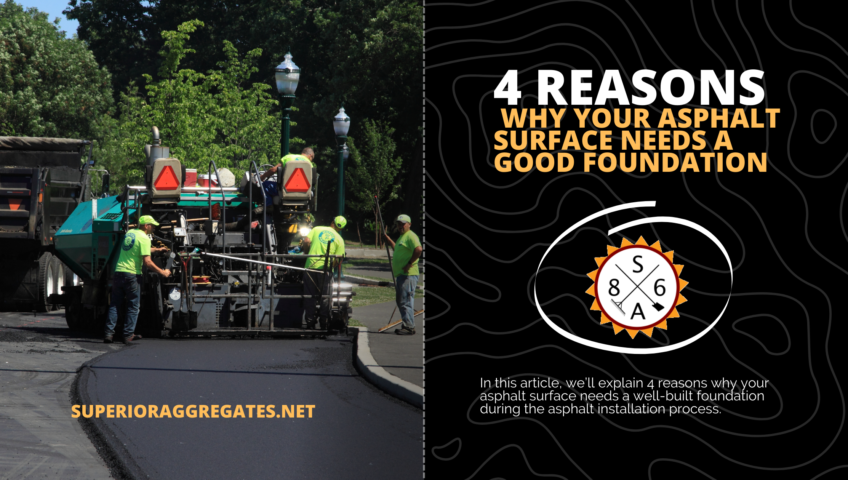
In this article, we’ll explain 4 reasons why your asphalt surface needs a well-built foundation during the asphalt installation process.

1. Your surface will have proper drainage

An asphalt surface’s foundation has a tremendous impact on drainage. Asphalt should be laid in a specific way to funnel water away.

During heavy rains, all of that water must go somewhere. An improperly designed and constructed foundation can lead to low spots or dips on the asphalt during the paving process, which can cause water to gather and puddles to form. Foundations that aren’t completely smooth can also create dips or sinks while being paved.

Many asphalt drainage problems, including slow draining, occur during the initial design stage. Asphalt parking lots, roads, and driveways need an appropriate level of elevation drop to remove water effectively.

2. Your surface will need fewer repairs

A properly built asphalt surface foundation can lead to fewer repairs throughout the surface’s lifetime. For example, if you notice “ponding” on the surface, it’s usually because the asphalt’s foundation has sunk in certain areas or become uneven due to the foundation losing some of its base integrity. This can happen over time.

A foundation that breaks down prematurely can be caused by rocks shifting and moving due to pressure, which can lead to warping and cracking. Early cracking is often caused by a poorly constructed foundation.

3. Your surface will be safer

When asphalt parking lots, driveways, and roads have strong foundations, they are significantly safer to drive and walk on. Cracks and dips that form when the gravel below the asphalt sinks can cause people to trip and fall.

The well-built foundation will also insulate the upper layers of the asphalt during the winter to stop ice from forming on the surface, preventing hazardous surface conditions in the process. If the foundation was poorly constructed and excess moisture is allowed to the surface, the constant freeze-thaw cycle can create new cracks and cause existing ones to expand.

4. Your surface will last longer

Asphalt pavement can last about 15 to 30 years on average, but its lifespan largely depends on how well the foundation was laid and whether regular maintenance was performed.

In fact, the condition of the foundation plays a large role when determining whether to resurface or replace an asphalt surface. If the foundation is still strong and intact after 20 years, you may want to consider resurfacing. Replacement is often recommended if the driveway is 20 to 30 years old and the foundation has completely failed.

Consider hiring only asphalt companies with good online reviews and a strong Better Business Bureau score.

3 Reasons Most DIY Concrete Patios Fail

Tips from a Concrete Company to Set Your Patio Up for Success!

Concrete patios are becoming more of a trend and it’s not difficult to see why – they’re sturdy, they’re long-lasting, and they look amazing! But to have a concrete patio that’s sure to be the talk of the neighborhood, you’ll have to keep three important factors in mind.

If a concrete patio isn’t set correctly, it could cause dilapidations over time, which could potentially be dangerous. Make sure your patio is safe – don’t take shortcuts and refer to our additional concrete tips and tricks for more assistance.

From our concrete company to your home, follow along to create a concrete patio that avoids these common mistakes!

“Make sure your patio is safe”

Reason #1: No Concrete Form Is Built

In order to make sure your patio is stable and won’t crack/crumble over time, it is integral to have a concrete form. A concrete form works to keep your concrete mixture in place while it dries. When you originally mix your concrete, it will be more of a liquid (similar to a peanut butter texture) that can ooze and spill easily.

That’s why a form is so important, in order to keep your concrete in place while it hardens. Once it is set, it will become stiff, and you will be able to remove the concrete form as you wish. Be sure to allow 24-48 hours for your concrete to dry, depending on the type of mixture you used. You should be able to find this information in the directions located on the container.

“A concrete form works to keep your concrete mixture in place while it dries.”

Reason #2: Concrete Form or Template Isn’t Level

Because you’re going through the process of creating your gorgeous new patio, of course you want it to look its best! That’s why it’s so important to make sure before pouring your concrete that the form or template you’re using is level. If not, it could lead to bubbles, cracks, and splits within your new patio – which, surely, isn’t the look you’re going for.

This can sometimes be tricky to determine when working on uneven terrain, so it may be helpful for you to purchase a leveler, just to be completely sure that your form or template is level. This will ensure that your new concrete patio is smooth and seamless!

“Make sure before pouring your concrete that the form or template you’re using is level.”

Reason #3: Measurements are Rushed

As previously mentioned, it is extremely important to take your time when pouring concrete. As a concrete company ourselves, we wholeheartedly understand the intricacies that come with this process. Measurements are one of the very first things you should do before even thinking about leveling, mixing, or pouring your concrete.

If your measurements are rushed, there’s a higher chance they won’t be exact – which could lead to uneven forms, crooked templates, and an overall unideal outcome of your concrete patio. One of the biggest pieces of advice we can give you is to take your time to make sure the measurements are exact – from there, everything else should go smoothly!

“It is extremely important to take your time when pouring concrete.”

Contact us for more assistance

As your trusted concrete company, we are here to help you with whatever project you may be working on. For more tips, tricks, and advice, don’t hesitate to contact our experienced team members!

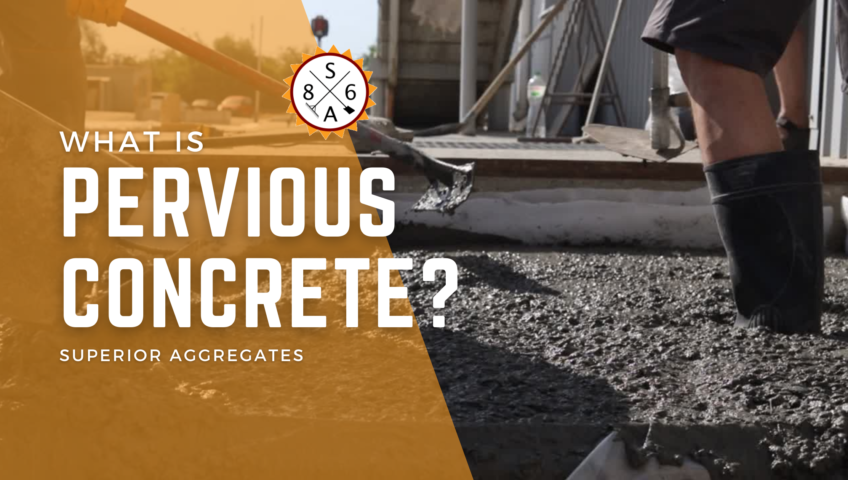
What is Pervious Concrete?

Pervious concrete is just as the name implies – it’s a pavement application that allows stormwater through it so that it can seep into the ground. It’s made in a similar fashion to standard concrete, but without sand or water. Excluding sand and water in the mixture creates voids in the material that allows water to pass through. These voids typically account for 15-25% of the area once it’s hardened.

Although pervious concrete has been around for centuries, it’s only gained popularity in the United States in the last 50 years. It actually gained popularity in Europe after World War II due to a shortage of cement.


What are the benefits of pervious concrete?

There are a lot of benefits to using pervious concrete, namely reducing the amount of stormwater runoff that makes its way into the sewers. While this may sound harmless, runoff water picks up a good deal of surface pollutants along the way before it reaches the sewer.

Because pervious concrete reduces the amount of pollution in the water, the EPA (Environmental Protection Agency) named it a Best Management Practice for Stormwater.

While the chief benefit is its pollution reduction, there’s plenty more upside to using pervious concrete. Reducing surface water means fewer puddles and – in colder climates – fewer icy spots in the cold winter months. Conversely, its light color reduces the amount of heat stored, thus maintaining a lower surface temperature than standard concrete. That means safer walkways and driveways all year.

Pervious concrete is also better for surrounding landscaping, like grass and trees. When the water seeps back into the ground, it supplies the surrounding root systems with valuable water that it would not otherwise get.


Where can pervious concrete be used?

Pervious concrete has been most widely used as a pavement material, so concrete contractors are increasingly using it for driveways and walkways. However, it’s worth noting that because of its porous construction, pervious concrete will potentially degrade faster in high-traffic areas.

Don’t let that be a deterrent for you, though. The benefits of using pervious concrete far outweigh the drawbacks. In fact, many cities and towns throughout the United States have begun utilizing pervious concrete for their municipally-owned areas like parks, parking lots, and public walkways.

That it reduces the amount of water and ice that can form at the surface has made pervious concrete an appealing option for roadways as well. Reducing the number of accidents caused by hydroplaning through water or losing control on ice is an immediate benefit to any public roadway.

Keep in mind that there is a bit of maintenance that comes with using pervious concrete. Regular cleaning of the area helps the concrete maintain those voids that allow water to pass through. Again, the long-term benefits of going with pervious concrete for your driveway or walkway should outweigh any drawbacks.

If you’re interested in further exploring pervious concrete, talk to your concrete contractor or concrete company about it. They can help you decide if it’s viable for your specific use case and help you weigh the benefits of pervious concrete versus other options that are available.

Asphalt Milling VS. Asphalt Resurfacing

Asphalt is the general term used to describe the material that makes up the majority of roads around the world.

It is a mixture of various sizes of rock and oil as a binder. The process of developing an asphalt mix and laying it down to form a road is complex. However, without this process, roads that have been damaged over years of use would not be replaced or upgraded with new asphalt. There are a number of steps to replacing or upgrading an asphalt road, and while it is very rare for a road to be completely removed down to the dirt and repaved, the process of asphalt resurfacing is an important task for any asphalt company.

Asphalt resurfacing is the term used to describe the process of removing a portion of a road, usually no more than an inch or two, and then laying down new asphalt. This is something that needs to be done periodically, especially as new mixes of asphalt are developed to better withstand damage. The process of resurfacing a road can be broken down into just a few steps. However, sometimes the processes involved in a resurfacing project may be confused with one another. Understanding the differences among these individual steps, and their importance to the entire process, will enable you to better grasp what is going on during the resurfacing of an asphalt road.

The first step of the process is asphalt milling.

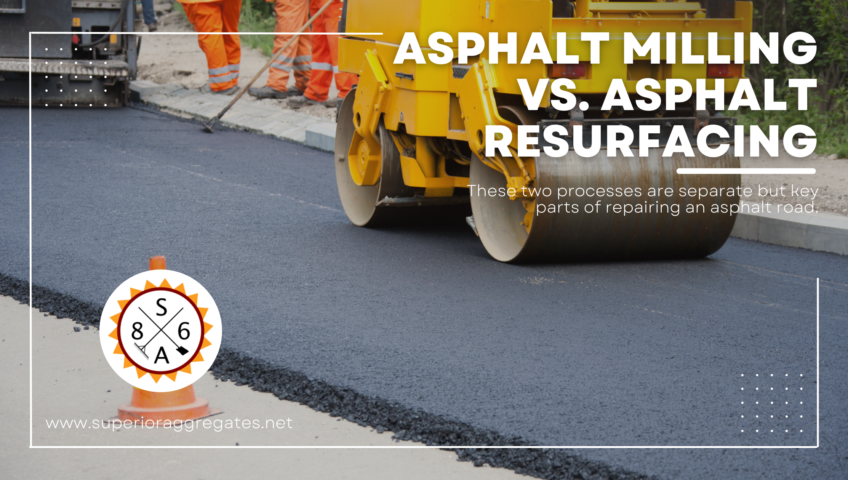
You may have seen milling machines working on a road. They are used to remove old asphalt, which is ground up and may be recycled. The milling process provides an asphalt company with something like a “blank canvas” to go back and repave with new asphalt. Milling can take place along a long stretch of a road, or in just a small area that needs to be repaired. Either way, the process takes off old and damaged asphalt, providing room for laying new asphalt without raising the height of the road.

After the milling process comes the process of asphalt resurfacing itself.

This is when the new pavement is laid down on top of the milled surface. The new mix is poured and rolled out to form a new surface to drive on. This process will involve a number of pieces of paving equipment, each of which plays an important role in ensuring that the new asphalt road meets the necessary standards.

As you can see, while the entire process may be referred to as asphalt resurfacing, the actual resurfacing is just one aspect of the process. It is important that the old asphalt be removed in order to provide a good place to start laying a new layer of asphalt. By using a milling machine to scrape off the top inch or two of asphalt, the new pavement can be laid without raising the level of the road. After the surface is prepared, the new asphalt can be laid. Sometimes, the laying of the new asphalt is what is referred to as the asphalt resurfacing process.

Understanding the difference between removing the asphalt, milling, and laying new asphalt, resurfacing, is important for knowing what is going on throughout the process of a paving project. And while some of the terms may be interchanged, these two processes are separate but key parts of repairing an asphalt road.

The Importance of Grading & Excavating Asphalt

It is always important to be prepared to learn something new, and when matters related to asphalt installation are concerned, there are a few things that many asphalt contractors, commercial property owners, homeowners, asphalt companies and even municipality employees may need to learn.

This article will give an easy and clear step-by-step overview of what a good quality asphalt installation requires.

Step 1: Demolition and Removal

The first thing you need to do is remove the existing surface, whether it’s concrete, asphalt or pavers.

  • For the required efficiency, demolition is done using heavy machinery that includes forklifts, front loaders, bobcats and large dump trucks when necessary.
  • The debris is then removed to make the place fresh for a new immaculate installation.

Step 2: Grading and Sloping

Technology plays an integral role in helping you get the perfect surface for the most appropriate water drainage.

  • Using automatic motor graders and laser-guided transits, ensure that you grade the surface you want paved to see to it that water will run off properly without creating unnecessary swamps.
  • When you get good water drainage for your asphalt, you will prevent future damage that includes cracks, water potholes and heaving. It will also add a lot of aesthetic appeal to your space.

Step 3: Prepare the Sub Base

The most integral part of your asphalt surface is the sub-base for the following reasons:

  • It provides a stable environment for maximum support of the new pavement.
  • It is a frost barrier and plays an integral role in reducing water damage because of thawing and freezing during winter.
  • The base stability, thickness, and compaction are very important steps when installing. If one thing goes wrong and the base is not properly compacted, the asphalt surface will not produce maximum durability.

Step 4: Undercutting, Sub Base Repair and Proof Roll

When the sub is well compacted and graded, you need to provide the next step, called the proof roll, to ensure that the underlying surface base is strong enough and ready to offer solid support to the new asphalt.

  • You can drive a heavily loaded quad axle dump truck row by row over the whole surface for the best results.
  • If the gravel happens to flex more than an inch under the truck’s weight, it means the base is not so well supported.

Step 5: Binder and Surface Course

Once you lay the sub, identify any soft areas and repair them, you can add the binder.

  • The binder is a large aggregate usually mixed with oil and, therefore, very durable and strong.
  • The binder layer is the ultimate strength of any asphalt surface.

Step 6: Install New Asphalt Surface

When you lay all the supportive structures of your new asphalt surface, you can add the top asphalt layer.

  • Surface asphalt is usually made of sand, oil and small aggregate.
  • The material combination provides a smooth and shiny surface when applied properly.

Step 7: Butt Transition and Joints

It is unusual to install an asphalt surface that does not connect to parking lots, existing driveways and busy parking lots. It is, therefore, important to do the following:

  • Give maximum attention to the butt joints and ensure that old asphalt and new asphalt are compacted.
  • Ensure that the area has proper water-run off.

Final Roll

Once the asphalt and the butt joints have been well laid, you can go ahead and make sure that the entire surface is compacted and smoothened by using a roller truck. This process ensures no small bumps and stones left poking through the new surface.