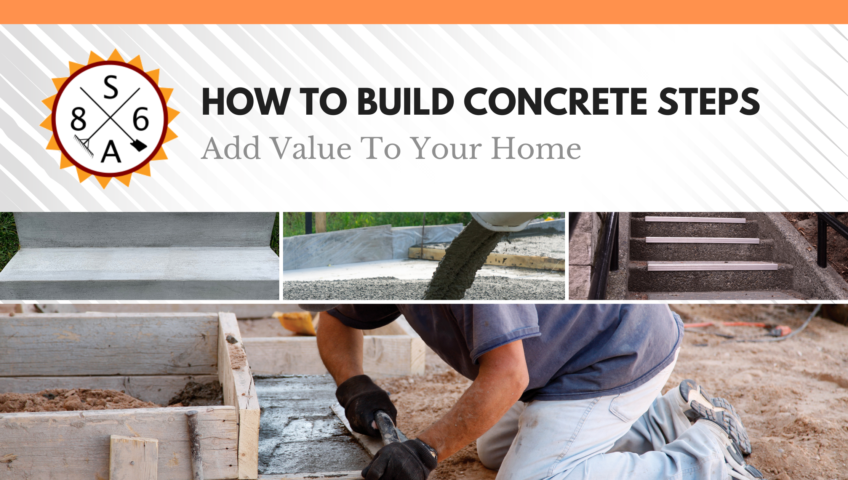
How To Build Concrete Steps & Add Value To Your Home
If you are reasonably handy with power tools and understand the importance of getting a project level and square, building concrete steps can save you a few dollars. As DIY tasks go, concrete steps can be somewhat labor-intensive. But with the right tools and by following these steps carefully, you can add value to your property.
1: Gather Your Tools & Materials
You will likely need the following tools and materials to complete a set of concrete steps: a 4-foot level, framing square, circular saw, hammer, wheelbarrow, shovel, concrete edger, broom, tape measure, circular saw, concrete, trowel, 2x lumber, gravel, rubble, and plywood.
2: Take Initial Measurements
Measure the height from the ground to the bottom of the doorway. Now calculate how many steps you will need extending away from the building at 7 inches per step. This is to say, each step is supposed to be no more than 7 inches. If the door threshold’s bottom is 21 inches from the ground, you usually need three concrete steps. If the height can’t be divided by 7 inches evenly, get each step as close as you can. You can make shorter steps, but not taller ones.
3: Set Your Footings
Excavate the ground where the concrete steps will be poured. Layout 2x lumber to form two boxes to pour the footings. Check that they are perfectly level. These should extend about three inches wider than your steps. As the concrete starts to harden, insert rebar into the footings so that it sticks up about 6-8 inches. Fill the center space with gravel.
4: Build A Frame
Measure and cut two plywood sections to mirror the sides of the concrete steps, based on your measurements. Set one on each footing with 3 inches protruding at the bottom. Check that they are also level. Cut 2x materials to create the face of each step, not the part you would walk on. Hammer them in place. Cut a 2×4 to create a brace. This typically is one length that extends from the ground and over the steps. Attach shorter braces — called cleats — that point down and support each step o the front. Hammer the last cleat into the ground and attach the long length to ensure it stays in place. Check to make certain your concrete steps will all be level, and the form is square.
5: Fill In The Form
Consider using stones, bricks, or cinderblock pieces to fill up a portion of the form. This will cut down on the amount of concrete needed. This strategy also tends to alleviate some pressure on your forms when the concrete is poured. Save room to insert lengths of ½-inch thick rebar about 3-4 inches below the concrete steps’ surface.
6: Fill With Concrete
Mix your concrete in the wheelbarrow and shovel it into the concrete steps form. It’s essential to prepare a firm but moist concrete mixture. This will help prevent leakage, reduce the hardening time, and allow you to manipulate it effectively.
7: Detail Your Concrete Steps
Use the edger to enhance the outer areas’ appearance once the concrete is fairly hard. Then take the broom and add traction lines to the spaces people will place their feet.
8: Remove Forms
Concrete steps usually take 12 to 24 hours to cure. Once the concrete has hardened, remove the forms. A flat tool such as a trowel may prove effective. Keep in mind that hard impacts or prying from tools such as a crowbar can damage the steps.
Concrete steps require some muscle to build. While handy homeowners can save a few bucks on labor, a masonry contractor may be worth considering.
