5 Most Common Categories of Asphalt Damage

Asphalt is known for being one of the most versatile pavement materials. Most people choose asphalt for its durability, and you might also enjoy how smooth the material looks on large surfaces. While asphalt parking lots and other types of surfaces should last anywhere from 10 to 15 years, they do require some maintenance to reach their maximum life span. Watching out for these common types of asphalt damage helps you know when to arrange for repairs.

Cracking

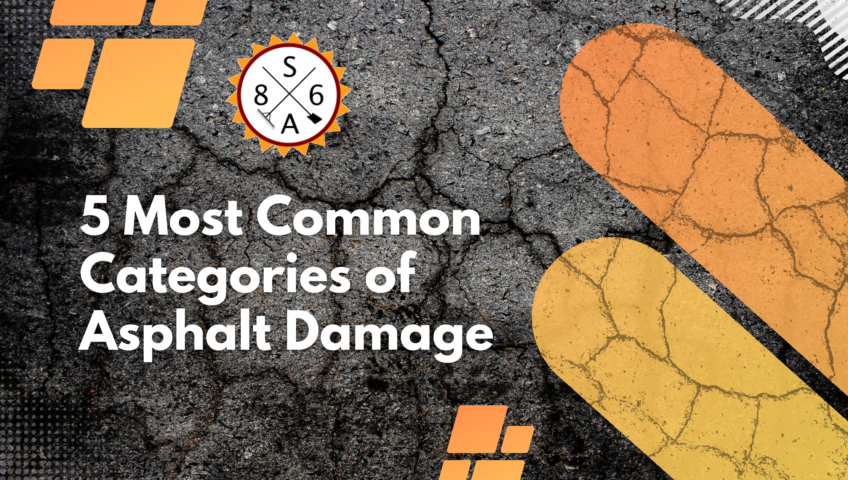
Cracks can develop due to severe weather conditions, wear and tear from heavy traffic along with poor drainage. There are several different types of cracks that you might notice in the asphalt, and noting which kind you see can help asphalt companies determine the cause of the damage. For example, fatigue cracks involve lots of small ones that run together and create the appearance of an alligator’s skin. These tend to come from chronic excessive loads or poor drainage in a climate with frequent temperature changes. Meanwhile, linear cracks could be caused by general wear and tear.

Depressions

Kids may love how depressions in asphalt surfaces create the perfect puddles, but road maintenance crews know just how dangerous these can be for causing skids. If a depression is relatively shallow and small, then it might only need a surface patch repair. However, some of these can get pretty large, which means you might need to replace the paved area.

Potholes

Coming across a big one of these on a road can lead to popped tires and car accidents. Potholes are ultimately the end result of allowing alligator cracks to go without repairs. Over time, water gets into the cracks and starts to erode the asphalt. Eventually, the cracks begin to intersect and cause chunks to come out of the surface until there is a serious hole.

Rutting

Heavy traffic on asphalt drives can cause indentations to form where the vehicle tires constantly roll across the surface. Since rutting is caused by the surface layers getting compressed by the weight of the vehicles, it tends to be worse when there is already a flaw in the pavement, such as it being too thin or made from a weak asphalt mix. Failing to properly compact the material during the installation process is another reason why rutting might develop, which is why it is important to fully vet asphalt companies before you arrange for their services.

Raveling

Asphalt raveling is caused by the general deterioration of the surface. With raveling, the pieces of the material begin to dislodge, and you might see loose gravel coming up on the surface. On roads and parking lots, the surface can get quite rough, and the loose materials can increase the risk of skids. The good news is that raveling tends to affect just the top surface layer in the early stages, and you might only need to plan for an overlay to fix the problem. Keep in mind that having a loose top layer exposes the underlayers to more potential for damage, so you’ll want to correct the issue as soon as possible.

When caught early, many types of asphalt damage can be repaired before it requires a complete replacement of the surface materials. Whether you have an asphalt driveway, road or trail you’re in charge of maintaining, make routine checks for damage a normal part of your routine. Staying on top of the quality of the surface helps to keep people safe and preserve the appearance of your property.

Do’s and Don’ts to Ensure the Longevity of Your Asphalt Pavement

There’s nothing like a fresh coat of asphalt pavent to make your property or business look inviting and taken care of. You want to keep that look for as long as possible, and that means taking proper care of the material immediately after the asphalt contractors have left. The following is a look at the do’s and don’t’s of maintaining your asphalt to maintain its fresh appearance until it’s time for maintenance or replacement many years from now.

The Do’s of Maintaining Your Asphalt

Asphalt has a lifespan of about 18 years before it needs a total replacement. The clock starts running the moment the asphalt work is completed, but it can take up to a year for asphalt to cure. It’s vital to protect your asphalt after the work has been completed, but you can start using it gently once the initial curing period has been completed.

In order to give your asphalt pavent a good start, be sure to do the following:

  • Block access to cars for the first 24 hours
  • Clean up debris to prevent it from damaging the surface

After the asphalt sets, you can drive and park cars on the driveway or parking spots. Careful use of the paved surface for the next 12 months is recommended, and it’s easy to engage in by making sure cars don’t sit in one place for more than a day or two. As time goes by, you’ll want to take steps to protect your asphalt. They include:

  • Keep it clean with regular washing and sweeping of debris
  • Patch cracks as soon as they appear
  • Seal the driveway on a regular interval, usually every three to five years
  • Make sure water is draining off the driveway and not pooling
  • Remove weeds from the edge of the driveway

The Don’ts’ of Maintaining Your Asphalt

Asphalt is tough, but it’s also malleable and compresses under pressure. It can also get damaged by oil leaks from a vehicle that sits in one place for too long. You definitely want to avoid parking your car in the same spot in the days immediately after the asphalt was laid, but you also shouldn’t park in the same place every time you come home. The same goes for keeping heavy objects on the asphalt for long periods of time, as you’ll wind up with divots forming in the asphalt that aren’t easy to repair.

Other don’t’s include:

Don’t let a car drip oil onto the asphalt

Vehicles are known to leak oil which isn’t always a serious problem in and of itself. It is a serious problem for asphalt as it can cause cracks to form.

Don’t seal coat for at least three years

The oil in the asphalt takes time to dry out and eventually needs refreshing in the form of a seal coat. This is a normal process that should be allowed to play out over time before having asphalt contractorsapply a new coat. The new seal coat should interact with the old coat as little as possible in order to provide the best protection.

Don’t let snow and ice build up on the surface

Asphalt is porous in nature and is easily damaged by frost-freeze cycles. Allowing ice and snow to build up increases the risk of damage to the asphalt from the top down to the bottom layer.

Proper maintenance of your asphalt helps it function for longer, prevents divots from forming, and requires fewer repairs over its lifespan. Use these do’s and don’t’s as part of regular property maintenance for a safe and attractive surface for people and cars to use.

Keeping Up With Curb Appeal: The Top 5 Driveway Maintenance Tips You Need to Know

Whether you have bricks, pavers, concrete or an asphalt driveway, keeping it in good shape is the biggest factor in how long the surface will effectively serve you. Upkeep is also essential to ensuring that they maintain their appearance and add value to the home. Check out these top tips for maintaining the most common driveway materials.

1. Stay Diligent with Seal Coating

Driveway maintenance will be eased with routing seal coating of the installation’s surface. This is a good move for most kinds of solid-surface driveways, and is a must-do for concrete and asphalt materials that can stain and deteriorate with excessive sun and moisture exposure.

However, an asphalt driveway will need around 90 days to cure before being sealed. Most surfaces will need to be resealed about every two years to extend their lifespan and keep them looking attractive. This task is often best left to professionals, as it takes special tools and can be time-consuming for the typical homeowner.

2. Clean Up Stains Quickly

Routine seal coating can help prevent stains from oil, gas and other fluids that can penetrate bricks, pavers, concrete and asphalt driveways. Yet, it’s best to immediately clean up any such spills to keep stains at bay, which is likely to detract from the beauty of the home. Consider regular pressure washing to retain an ultra-clean look throughout the year.

3. Don’t Let Plants Take Over Driveway Surfaces

While green foliage is desirable in landscaping, plants and weeds can be a true menace to driveways. They can penetrate through to the surface by way of small cracks, which can actually widen them over time. Experts recommend filling in any cracks quickly and aggressively.

To prevent grass from taking over the edges of driveways, invest in some type of trim, edging or river rocks to place along the sides. In addition to keeping grass where it belongs, this addition can become a key visual element of your hardscaping design.

4. Perform a Driveway Inspection After Winter or Heavy Freezes

Should you reside in an area that sees freezing temperatures or seasonal snowfalls, the driveway will experience freeze-thaw cycles. Unfortunately, this can be a primary cause of driveway damage and is a particular issue with an asphalt driveway that can easily shift.

Be sure to do a visual inspection after deep freezes or heavy snow to check for cracks, potholes, or any signs of crumbling materials. Be prepared to take care of any necessary repairs right away. Ignoring deterioration will only allow the problem to worsen and spread to other areas of the driveway.

5. Invest in a Driveway Professional

While it’s possible to do a good portion of driveway maintenance and basic repairs as DIY projects, bigger jobs might be best left to professionals. In cases of tough stains or large installations, an experienced technician can make magic happen with greater ease and in less time. Having a local contractor in place ensures fast repairs and regularly scheduled seal coating and cleaning.

Don’t Underestimate the Talents of a Pro

As you can see, the driveway is a large part of a home’s exterior features, and will be seen by neighbors and passersby on a regular basis. Don’t be the neighbor who neglects their driveway and drives down the overall curb appeal on your street. Invest in driveway maintenance!

7 Pavement Preservation Treatments for Your Asphalt Surface

Constructing an asphalt surface such as a driveway, parking lot, or basketball court is a significant financial investment, so it only makes sense to protect it. That means regular maintenance should be performed to preserve the integrity of your asphalt surface and extend its lifespan.

We’re here to help you get the most out of your asphalt surface. In this article, we’ll discuss 7 pavement preservation treatments for your asphalt surface.

1. Routine Maintenance

Routine maintenance is necessary to prevent damage and staining. Fuel and oil from vehicles, as well as leaves and debris, can lead to permanent stains on asphalt surfaces. Oil and fuel spills can also seep into the pavement, leading to cracking and other damage such as potholes. Rock and gravel can also harm the surface when they’re run over by cars.

Asphalt surfaces should be swept frequently, especially after storms, to remove dirt and debris. Car oil and fuel, meanwhile, should be cleaned immediately using a long-handled brush and a mixture of water and either powdered detergent, dish soap, or baking soda.

2. Sealcoating

Sealcoating is another great way to preserve the integrity of your driveway or asphalt surface and make it “pop” again. Many people wait too long to sealcoat surfaces, which can lead to premature wear and a faded, gray color. Consider sealcoating every two years.

The benefits include:

  • Prolonging the surface’s lifespan.
  • Preventing water from seeping beneath the surface and causing cracks and other damage.
  • Restoring the black color.
  • Protecting the surface from harmful UV rays.

3. Crack Sealing

Cracks are bound to sprout up on asphalt surfaces over time, and if you wait too long to fix them with a crack filling or crack sealing, they’ll keep spreading. Although this service can be done throughout the year, one of the best times to contact asphalt companies is after winter. The constant freeze-thaw cycle can wreak havoc on asphalt surfaces.

4. Patching

Like cracks, potholes are also a common enemy of asphalt and can form when water seeps into cracks, freezes, and expands. Potholes are not only an eyesore, but they can lead to trips and falls, and vehicle damage. Patching these areas is an extremely cost-effective solution to improving the appearance and safety of your asphalt surfaces, as well as extending their lifespan.

5. Overlays

Asphalt overlaying is a method of applying about two inches of asphalt over areas of the existing base layer that have deteriorated due to significant potholes, cracks, or uneven surfaces. An overlay can extend the life of your asphalt surface by as much as 15 years depending on its age.

6. Slurry Sealing

Slurry sealing is a type of sealcoating used to protect asphalt and add value to asphalt surfaces. While normal sealcoating uses liquid asphalt, slurry sealing contains water, aggregates, and asphalt emulsion. Slurry sealing is commonly applied every five to seven years on roads that have received severe deterioration due to traffic.

7. Microsurfacing

Microsurfacing is an asphalt maintenance technique that can extend the life of blacktop roadways by an average of five to seven years. It’s a third less expensive than repaving and is commonly used by local governments for roads. Microsurfacing is the process of using a mixture of aggregate, water, and asphalt emulsion and adding it to an existing surface. Microsurfacing doesn’t rely on water evaporation in the asphalt emulsion, and, instead, uses chemical additives that can harden quicker.

Asphalt Milling VS. Asphalt Resurfacing

Asphalt is the general term used to describe the material that makes up the majority of roads around the world.

It is a mixture of various sizes of rock and oil as a binder. The process of developing an asphalt mix and laying it down to form a road is complex. However, without this process, roads that have been damaged over years of use would not be replaced or upgraded with new asphalt. There are a number of steps to replacing or upgrading an asphalt road, and while it is very rare for a road to be completely removed down to the dirt and repaved, the process of asphalt resurfacing is an important task for any asphalt company.

Asphalt resurfacing is the term used to describe the process of removing a portion of a road, usually no more than an inch or two, and then laying down new asphalt. This is something that needs to be done periodically, especially as new mixes of asphalt are developed to better withstand damage. The process of resurfacing a road can be broken down into just a few steps. However, sometimes the processes involved in a resurfacing project may be confused with one another. Understanding the differences among these individual steps, and their importance to the entire process, will enable you to better grasp what is going on during the resurfacing of an asphalt road.

The first step of the process is asphalt milling.

You may have seen milling machines working on a road. They are used to remove old asphalt, which is ground up and may be recycled. The milling process provides an asphalt company with something like a “blank canvas” to go back and repave with new asphalt. Milling can take place along a long stretch of a road, or in just a small area that needs to be repaired. Either way, the process takes off old and damaged asphalt, providing room for laying new asphalt without raising the height of the road.

After the milling process comes the process of asphalt resurfacing itself.

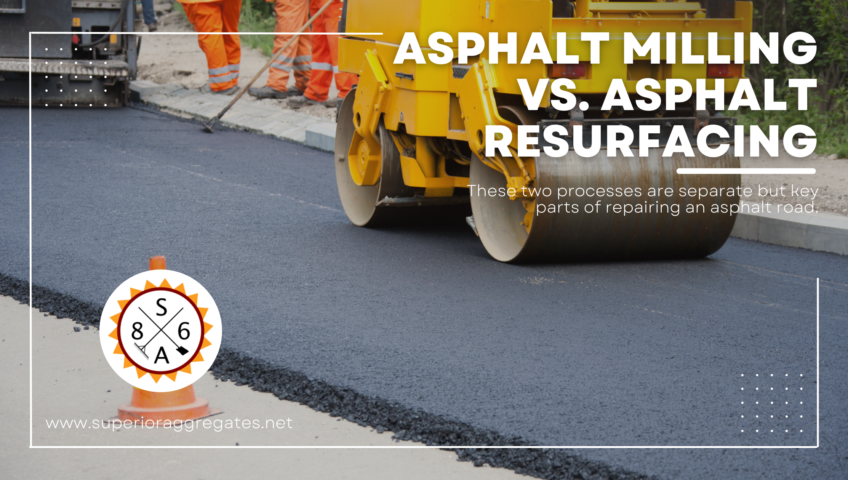
This is when the new pavement is laid down on top of the milled surface. The new mix is poured and rolled out to form a new surface to drive on. This process will involve a number of pieces of paving equipment, each of which plays an important role in ensuring that the new asphalt road meets the necessary standards.

As you can see, while the entire process may be referred to as asphalt resurfacing, the actual resurfacing is just one aspect of the process. It is important that the old asphalt be removed in order to provide a good place to start laying a new layer of asphalt. By using a milling machine to scrape off the top inch or two of asphalt, the new pavement can be laid without raising the level of the road. After the surface is prepared, the new asphalt can be laid. Sometimes, the laying of the new asphalt is what is referred to as the asphalt resurfacing process.

Understanding the difference between removing the asphalt, milling, and laying new asphalt, resurfacing, is important for knowing what is going on throughout the process of a paving project. And while some of the terms may be interchanged, these two processes are separate but key parts of repairing an asphalt road.